before that you'd need your rolling pin, leaf design cutter, plastic wrap,tooth picks, polystyrene foam.

- Take an inch or smaller cube of a chocolate clay and knead it with your hands until its pliable. Form it into a cone that will become the core of a flower. (see above)
- Place the cone on a tooth pick and insert it on the foam. Repeat 11 times and allow it to harden. this may take about an hour.
 3. When the cone is hardened, make the petals. For each petal, take a piece of the chocolate clay about 1/2" size and make a flat disk (like below) about the diameter of a nickel (or larger if you're making large flowers) and about 1/4" thick. Place disk between layers of plastic wrap.
 4. On a flat surface, or with the disk slightly cupped in the palm of 1 hand, press with the fingers of the other hand on top of the plastic to thin one side of the disk, shaping the delicate top of the petal. leave the other side a little thicker, where you'll join the at the base of the core.
5. Remove the core on its tooth pick from the foam. Press the thicker side of the petal to the core near the bottom to attach it.
6. continue to make petals, increasing gradually in size and layer them, moving upward on the core, until you've reach the size of the flower you desire. 3 petals are sufficient to create a bud; 5-7 to make a full rose.
7. Gently shape the petals by pressing their edges with the cel stickor cuticle stick.
8. Place the rose on its toothpick,back onto the foam.
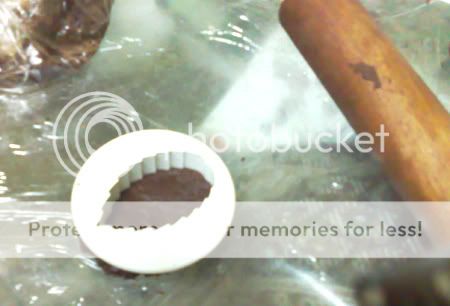
- As for the leaves, take 1" of the chocolate clay, warm it with your hands then roll it into a circle 1/8 thick.
- Use a leaf-shaped cutter to cut out the leaf shape. use a toothpick to decorate the veins. (as above picture)


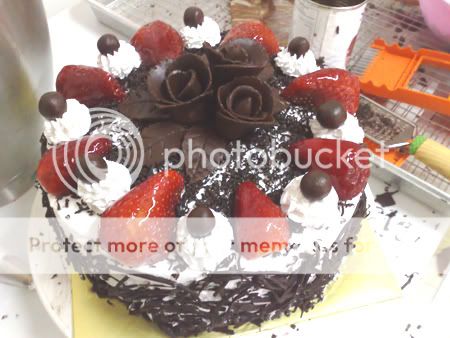
 The finished product decorated on the Black Forest Cake... nice huh?
No comments:
Post a Comment